

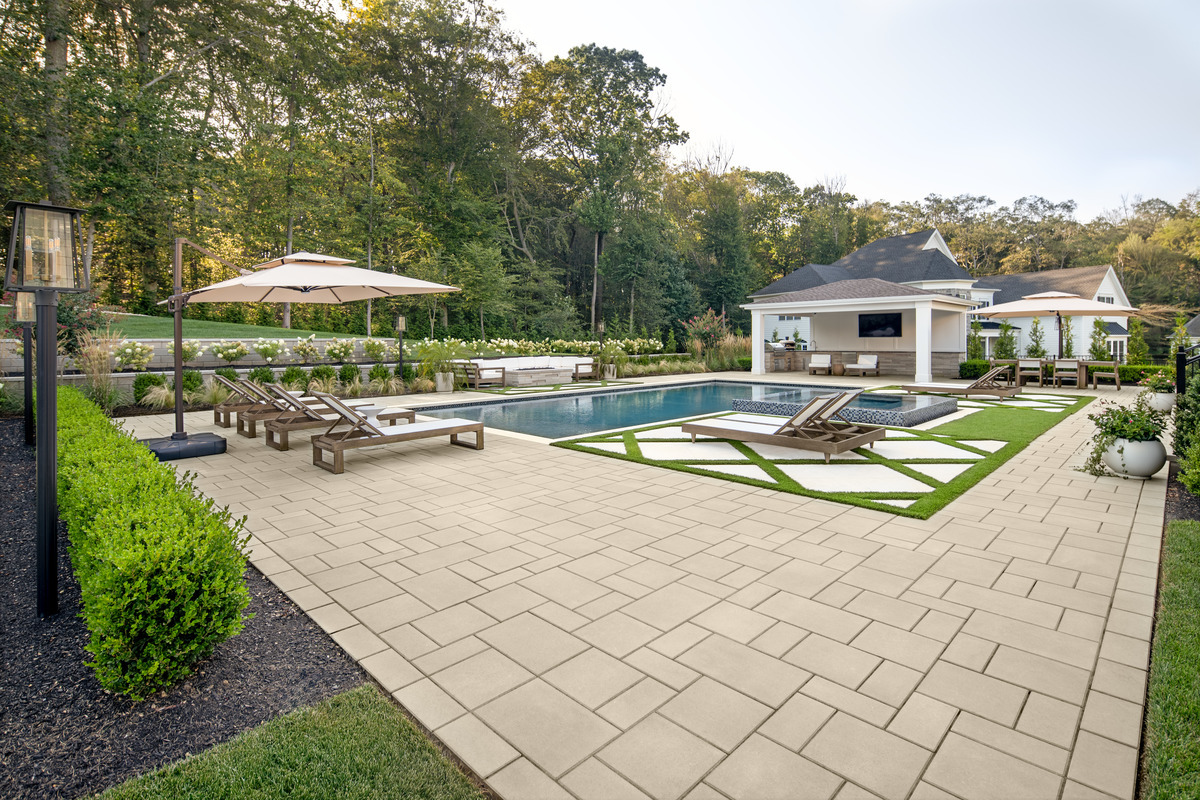
Whether you dream of a slab patio, an interlocking paver driveway, a retaining wall or an elegantly capped privacy wall, the durability of your project depends directly on the quality of the preparation and installation. Here’s a step-by-step guide to understanding every phase of the work and achieving a result that will withstand Quebec winters without flinching.
Before you begin: plan your project properly
A successful installation relies on good planning. Before you even start digging, take the time to:
- Define how the surface will be used : a pedestrian walkway, a patio and a vehicle driveway don’t require the same base thickness.
- Check the drainage : water must always flow away from your home. Plan for a slope of about 1 to 2 %.
- Locate underground utilities : in Quebec, contact Info-Excavation before any digging.
- Choose your products : Techo-Bloc slabs, pavers, walls and edges come in different thicknesses and installation methods. Browse the Techo-Bloc 2026 catalogue for inspiration.
Tools and materials needed
Before you begin, make sure you have:
- A shovel, a rake and a wheelbarrow
- A geotextile membrane
- 0-¾ crushed stone / ¾ clear stone / Gator Base for the base
- Bedding sand / stone
- Two guide pipes or screed rails for levelling
- A plate compactor (with a protective mat)
- A rubber mallet and a spirit level
- A concrete saw or a splitter for cuts
- Edge restraints
- Polymer sand for the joints
- Concrete adhesive (for coping units and certain wall courses)
- Protective equipment (goggles, gloves, mask)
Part 1 — Installing pavers and slabs
Interlocking pavers and slabs are based on the same principle: a solid base, a well-levelled bedding layer and effective edge restraint. It’s this invisible foundation that makes all the difference.
Step 1: Excavate and prepare the ground
- Mark out your surface with stakes and string lines.
- Excavate while accounting for the total thickness: base + bedding layer + product.
- Pedestrian surface (patio, walkway): about 150 to 200 mm (6 to 8 in.) of compacted base.
- Vehicular surface (driveway): about 300 to 350 mm (12 to 14 in.) of compacted base.
- At this stage, plan for a 1 to 2 % slope for water runoff.
- Roll out a geotextile membrane over the excavated ground to separate the native soil from the base and prevent the materials from mixing, particularly on the clay soils common in our region.
Step 2: Install the granular base
- Spread the 0-¾ crushed stone (MG-20) in lifts of no more than 100 mm (4 in.).
- Compact each lift with the plate compactor before adding the next.
- Check the level and slope regularly as you build up.
⚠️ Important: A base compacted properly, lift by lift, is the best protection against future settling. Never skip this step.
Step 3: Set up the bedding layer
- Lay two guide pipes on the compacted base.
- Spread about 25 mm (1 in.) of bedding sand between the pipes.
- Screed the sand level by pulling a straightedge along the guide pipes.
- Remove the pipes and gently fill in the grooves left behind.
⚠️ Important: Do not compact the bedding layer or walk on it. A perfectly smooth, undisturbed surface is essential for a level installation.
Step 4: Lay the pavers or slabs
- Start from a straight edge or a 90° corner.
- Lay the units in your chosen pattern, respecting the joint spacing (many Techo-Bloc products include built-in spacer bars).
- Use string lines or chalk lines to keep a perfect alignment.
- Favour full units and save the cuts for the perimeter, made with a concrete saw or a splitter.
Step 5: Install the edge restraints
- Secure an edge restraint (plastic, aluminum or poured concrete) around the entire perimeter of the surface.
- This step keeps the pavers and slabs from shifting sideways over time and with frost.
⚠️ Important: Without proper restraint, even a flawless installation will eventually spread apart and destabilize. It’s one of the most common causes of deterioration.
Step 6: Compact and fill the joints
- Sweep the surface to clear away any debris.
- Then fill the joints with polymer sand. For this crucial step, follow our complete guide to installing polymer sand.
Special considerations for large-format slabs
Large-format slabs require extra care:
- They are thinner and more fragile than pavers: handle them with care.
- Many slabs must not be compacted the same way as pavers. Some are laid and adjusted with a rubber mallet rather than a plate compactor.
- Always refer to the installation recommendations specific to the Techo-Bloc product you’ve chosen, since the method varies from one collection to another.
Need a landscaping expert?
We work with trusted landscapers who can carry out your project using our premium materials.
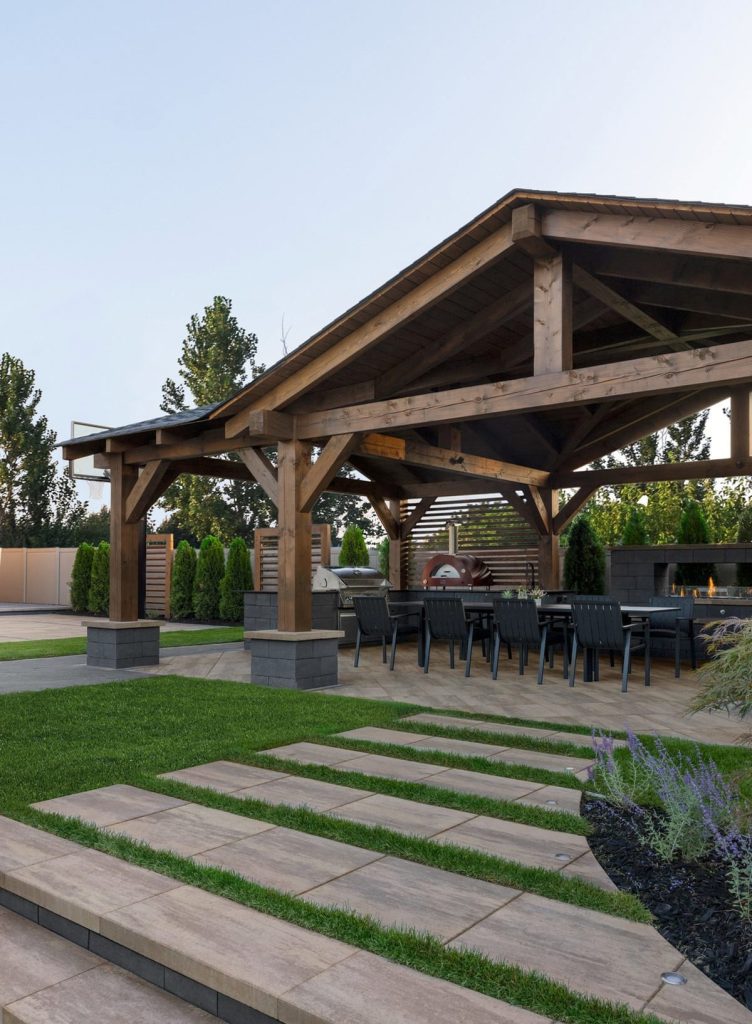
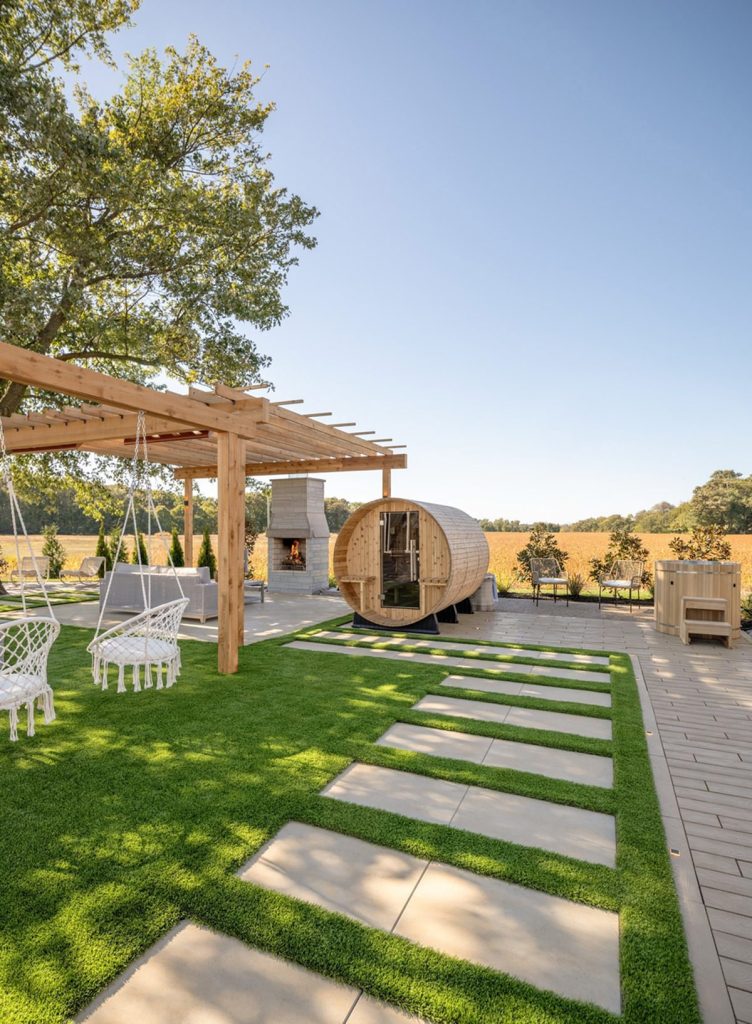
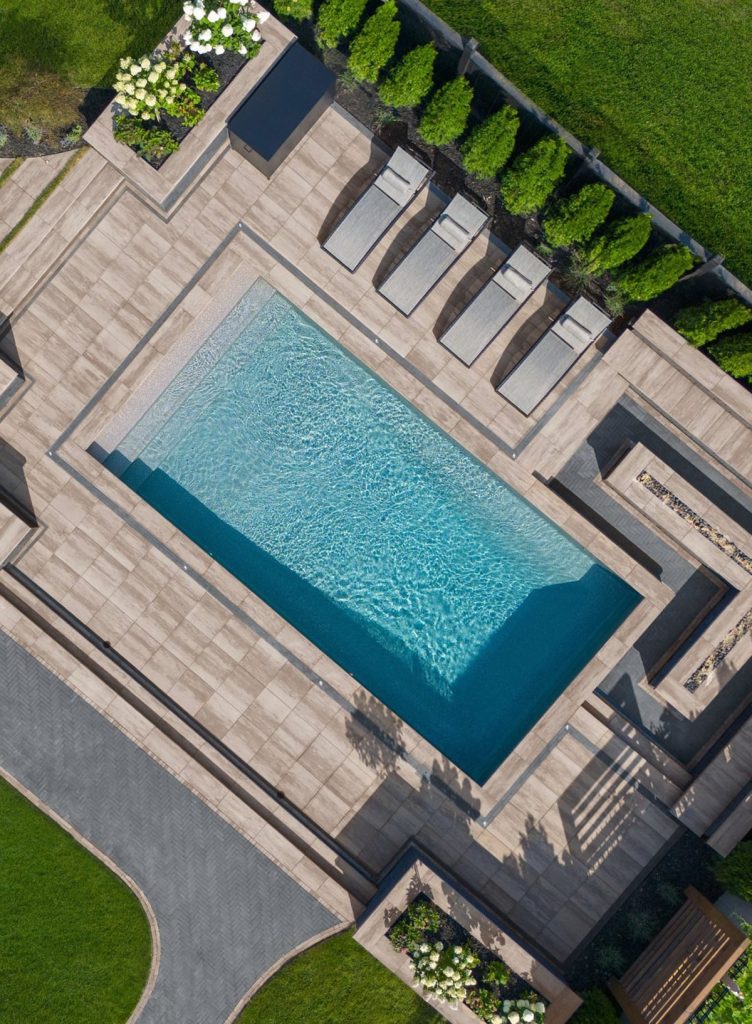
Part 2 — Building a wall and installing coping
A wall, whether decorative or load-bearing, demands a flawless footing and careful drainage management. The coping then completes the structure by protecting it and giving it an elegant finish.
Step 1: Excavate and create a level footing
- Dig a trench along the line of your wall.
- Place and compact at least 150 mm (6 in.) of 0-¾ crushed stone as the footing.
- Level this base carefully: it’s the foundation of the entire structure.
Step 2: Lay the first course (the most important one)
- Lay the first course of blocks on the levelled footing.
- Check the level of each block, in every direction, using a spirit level and a rubber mallet.
⚠️ Important: The first course determines the quality of the entire wall. Take all the time you need to get it perfectly level. Any mistake here will repeat and amplify as you build upward.
Step 3: Stack the courses and manage drainage
- Stack the following courses, taking advantage of the Techo-Bloc block’s interlocking system (setback lip or pins depending on the model), which automatically creates the proper setback.
- Stagger the vertical joints from one course to the next, like brickwork.
- Backfill behind the wall with 19 mm (¾ in.) clear stone to ensure drainage.
- Install a perforated drain pipe at the base, behind the wall, to carry water away.
- Compact the backfill in lifts as you build up.
⚠️ Important: Water is a wall’s main enemy. Poor drainage creates hydrostatic pressure behind the structure and can cause it to bulge or collapse.
Step 4: Reinforce taller walls
- Beyond a certain height — generally 1.2 m (4 ft) measured from the bottom of the footing — a retaining wall must be designed with geogrid reinforcement and, very often, requires plans stamped by an engineer.
- Some municipalities have specific requirements. Check with yours before undertaking a wall of any significant height.
⚠️ Important: A retaining wall sometimes holds back tons of soil. For any major project, don’t take any chances: call on a qualified professional.
Step 5: Install the coping
- Clean the surface of the top course.
- Apply a bead of concrete adhesive on top of the blocks.
- Set the coping units with a slight overhang of about 25 mm (1 in.) for a clean finish and better water runoff.
- Align the units and press them firmly into place.
- Let the adhesive cure according to the manufacturer’s recommendations before putting any load on it.
Tips for the best results
- Choose the right product: each Techo-Bloc collection has its own thickness, format and installation characteristics. Consult an expert to make the right choice.
- Respect the base thicknesses: they vary with the intended use. A driveway requires a far more robust base than a simple patio.
- Never neglect drainage: whether under a surface or behind a wall, good water evacuation is the key to durability.
- Plan around the weather: avoid installing in freezing conditions and make sure the ground isn’t waterlogged.
- Order extra material: buy about 5 to 10 % more units to cover cuts and adjustments.
Why choose Techo-Bloc products?
At Ambiance BP, we favour Techo-Bloc products — a Quebec-based manufacturer — for good reasons:
- High-quality manufacturing designed to withstand our harsh winters and freeze-thaw cycles
- Interlocking systems and spacer bars that make precise installation easier
- A wide range of colours, textures and formats to coordinate pavers, slabs, walls and coping harmoniously
- The durability and consistency the brand is known for
Come see our products in action in our showroom and leave with advice from our experts.
Need a landscaping expert?
We work with trusted landscapers who can carry out your project using our premium materials.
Exceptional indoor and outdoor showroom
An outdoor landscaping project can be costly, which is why we’ve built the largest showroom in Quebec, allowing you to see our landscaping products in action.