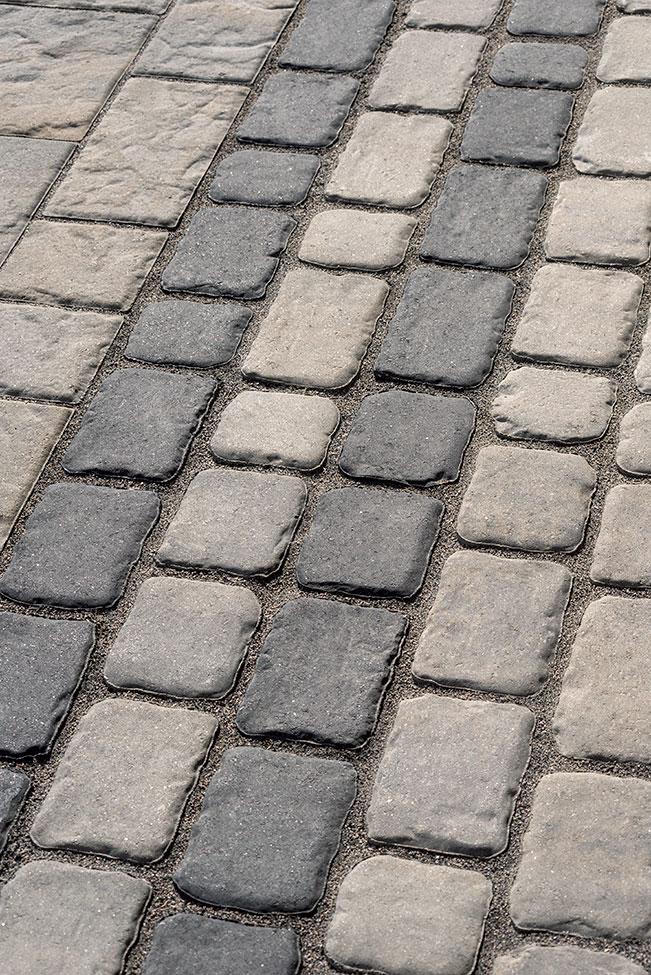
What is polymer sand?
Polymeric sand is a mixture of fine aggregates and polymeric binders which, once activated by water, hardens to form a stable, waterproof joint. It prevents displacement of pavers, inhibits weed growth and resists erosion caused by rain and wind.
Tools and materials required
Before you start, make sure you have :
- Quality polymer sand
- A stiff-bristled broom
- A blower or sweeper
- A plate compactor (with protection mat)
- Watering can or hose with spray head
- Protective equipment (goggles, mask)
Step 1: Prepare the surface
Preparation is the key to a successful installation. Make sure that :
- Surface is clean, dry and free of debris, dust and old sand residues
- Pavers are well laid and level
- The joints are emptied to a depth of at least 2.5 to 4 cm to allow the sand to settle properly.
⚠️ Important: Never apply polymer sand on a damp surface or in rainy weather.
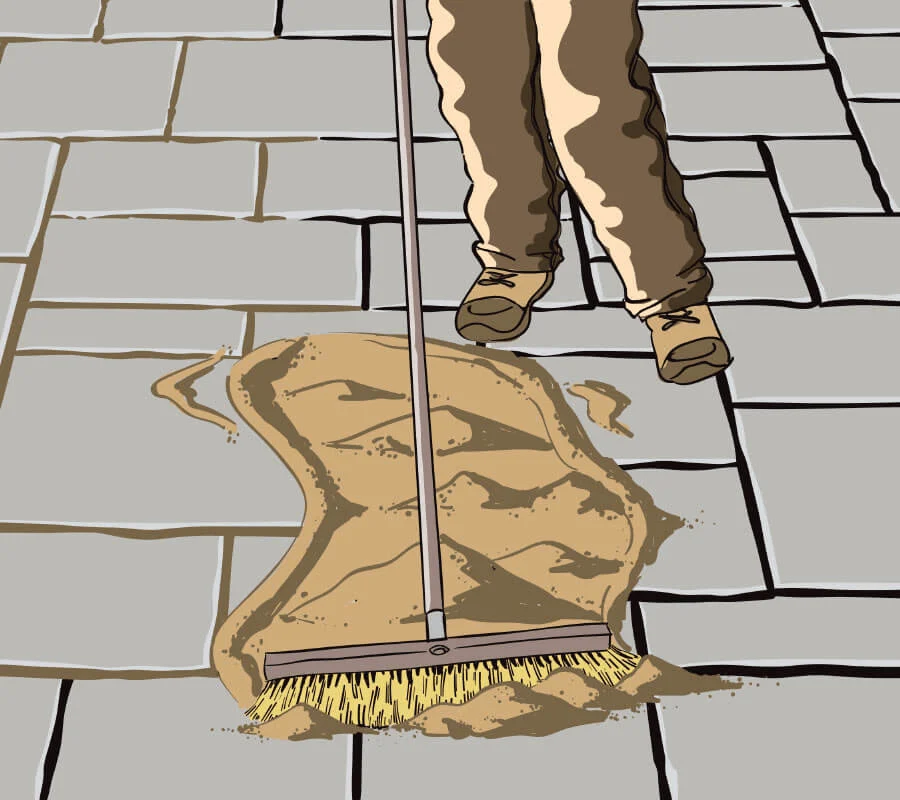
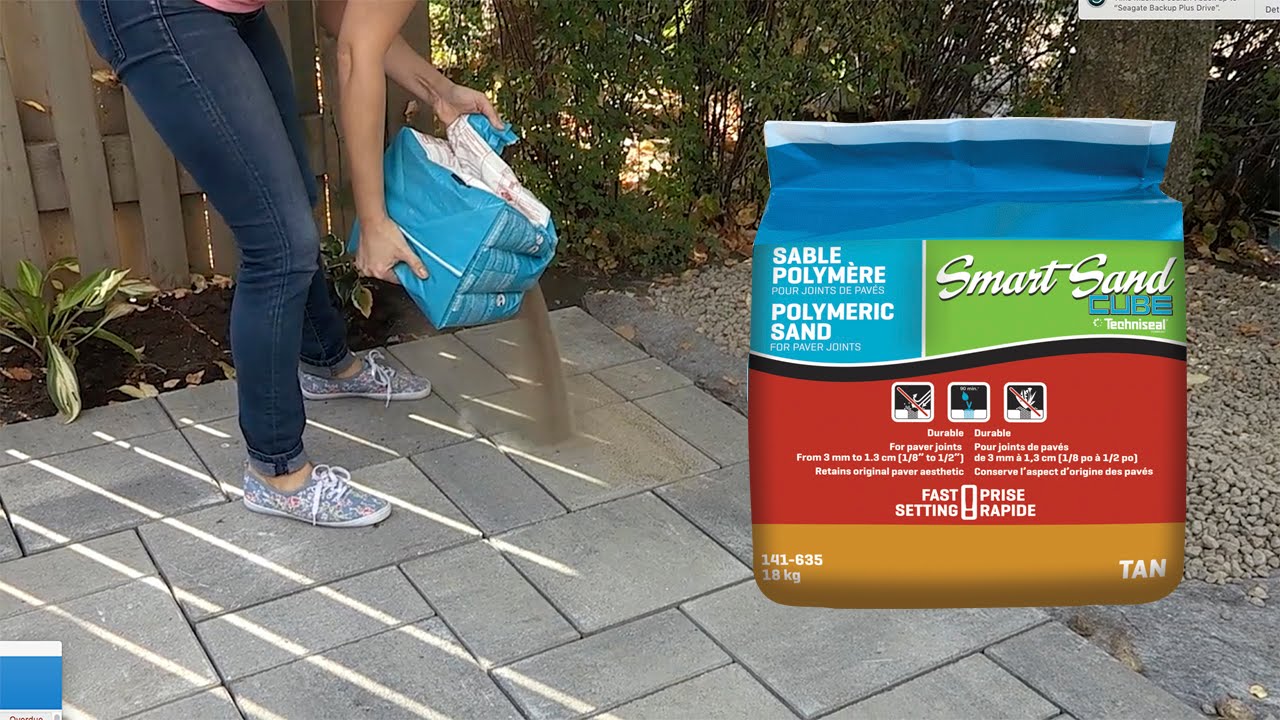
Step 2: Apply polymer sand
- Pour polymer sand directly onto the surface
- Using a stiff-bristled broom, sweep the sand into the joints diagonally to the joint lines.
- Repeat the operation until all joints have been filled to approximately 3 mm below the surface of the pavers.
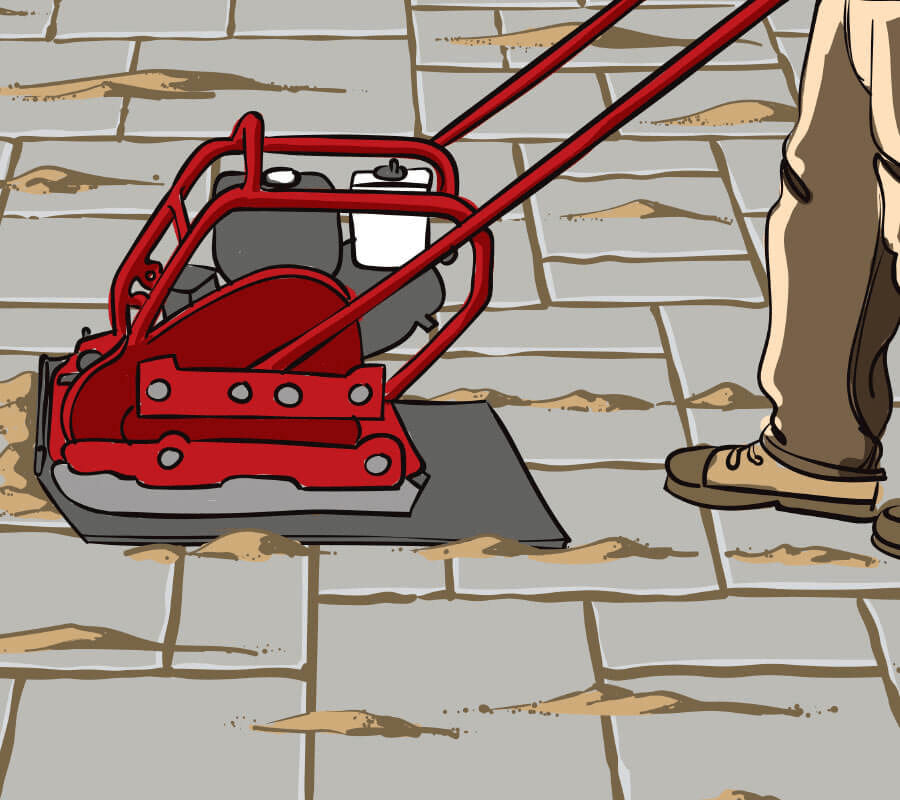
Step 3: Compact the surface
- Run the plate compactor over the entire surface to press the sand into the joints.
- Be sure to use a protective mat under the compactor to prevent damage to your pavers.
- After compaction, sweep again to fill joints if necessary.
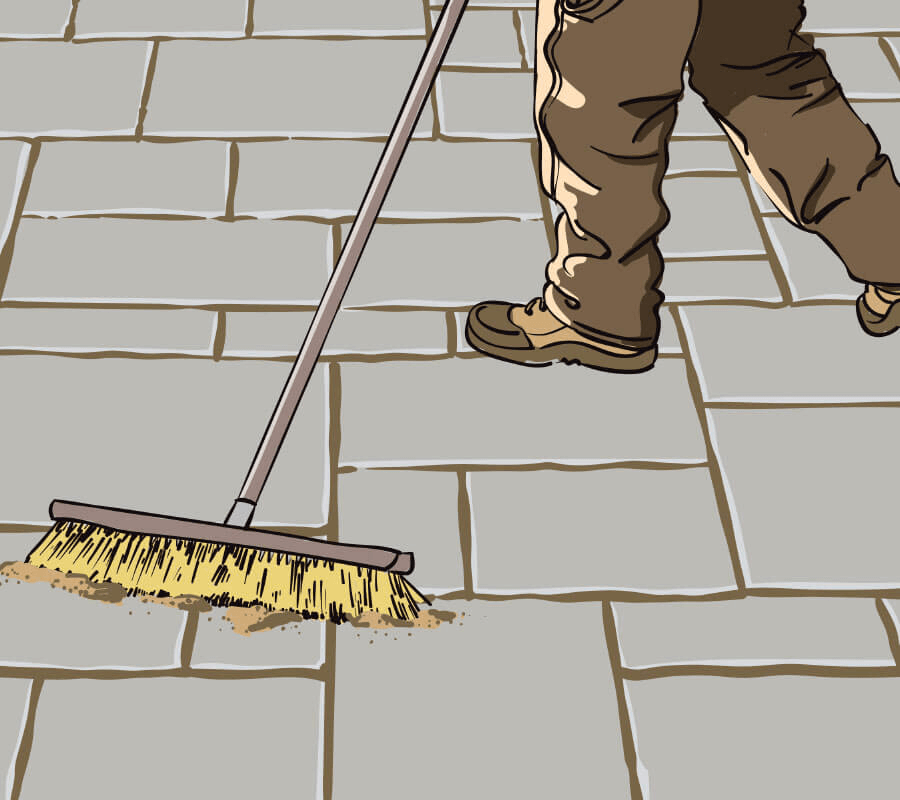
Step 4: Remove excess sand
- Carefully blow or sweep away excess sand from the surface
- This step is crucial: any polymer sand residue left on the pavers during water activation may leave stains that are difficult to remove.
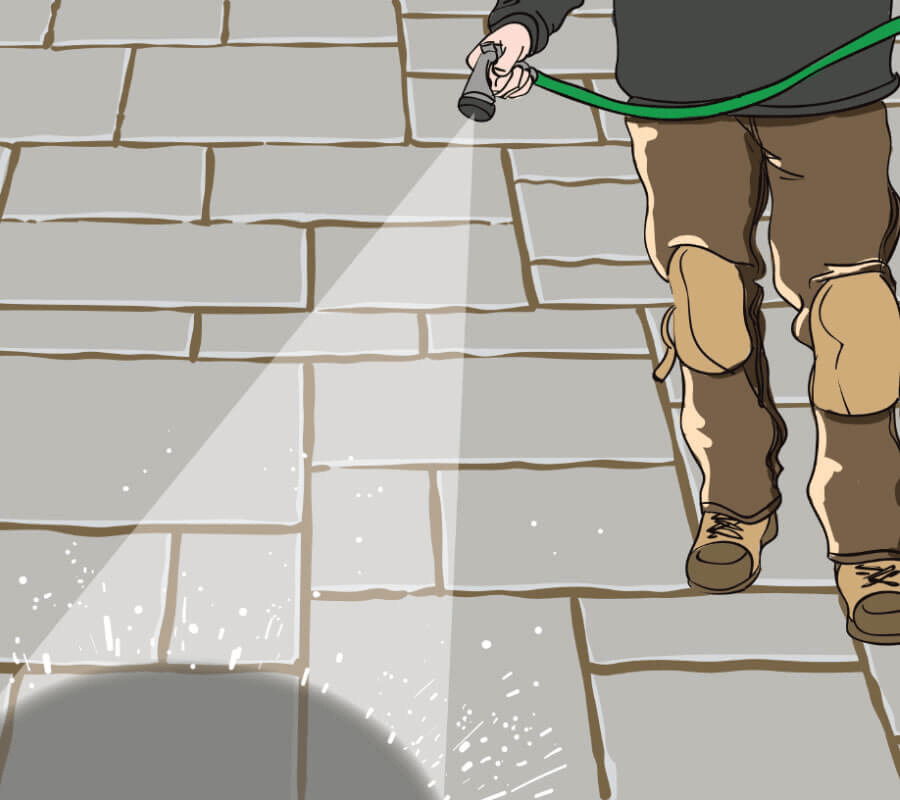
Step 5: Activate polymer sand with water
- Using a watering can or hose with a spray head, spray evenly over the surface.
- Use gentle pressure to avoid dislodging sand from joints
- Water until the joints are saturated, without puddling.
- Allow to dry according to manufacturer’s recommendations, generally 24 to 48 hours.
Tips for optimum results
- Choose the right product: there are different types of polymer sand, depending on joint thickness and surface type. Consult an expert to make the right choice.
- Avoid extreme temperatures: do not install polymer sand in freezing conditions or during intense heat waves.
- Plan according to the weather: make sure no rain is forecast within 24 hours of installation.
- Respect drying times: avoid driving on the surface until the sand has completely hardened.
How much polymer sand do I need?
How-to videos: apply polymer sand like a pro
Clear, practical videos to guide you through every step of polymer sand application.
Why choose polymer sand?
Compared with traditional pointing sand, polymer sand offers several advantages:
- Increased resistance to weeds and insects
- Better resistance to erosion and weathering
- More stable joints reduce paving stone displacement
- Minimal long-term maintenance
Need help with your project?
Every surface is different. Whether you’re installing a new patio, a paver driveway or a flagstone walkway, our experts are here to advise you on the right product and the right quantity. Contact us for personalized recommendations and to get your project right the first time.
Exceptional indoor and outdoor showroom
An outdoor landscaping project can be costly, which is why we’ve built the largest showroom in Quebec, allowing you to see our landscaping products in action.